
I know what you're thinking "who is this long lost soul who has magically appeared in my feed reader?" (read feeder?) To answer your questions:
1) I am still alive. I didn't have the ever popular fake internet death. You still may send money and flowers.
2) Running? Meh. Not much. It's winter dontchaknow! I know, I know...I do live in Texas where we only get about 2 days of actual winter, but I hate that it's dark when I get home. My body literally wants to hibernate this time of year. I did participate in a crazy fun 5K recently. Pics to follow later
3) Knitting? Yes please! I've been making warm woolens for my sister and her family in Virginia. Oh yeah...my sister, bro-in-law and the children that she bore just for me picked up and moved for his job. I know! ROOOD!
4) Still single (wink wink) fighting off the throngs of men with sticks as my milkshake must be bringing them all to my yard. They're trampling the grass. GET OFF MY LAWN!
So, to get to the REAL reason I re-opened up my dusty ol' blog... Cinnamon Clay Ornaments! (and all the grammar and punctuation mistakes you can eat. Seriously, I just write the way I think. Don't choke on an ellipsis...)
They may look delicious, but they are completely inedible. They will make your house smell wonderfully cinnamony for days! My mother kept a few that I had made for 10 YEARS so they also last a long time
What you will need:
1 1/2 cups ground cinnamon + extra for dusting when you roll out the dough. I find cinnamon in 16 oz bulk containers which works perfectly!
You may also add cloves or nutmeg if you just want it for smell-icity
1 cup applesauce - I used sugar free to help discourage critters eating them
1/3 cup white school glue
Mix the measured cinnamon, applesauce and glue in bowl until it creates a dough.
Dust your work surface with cinnamon, plop down some dough, dust with more cinnamon and roll out to 1/4" thickness or so.
Go nuts with cookie cutters! Remember to make a hole in the top of the ornament to hang them by. A drinking straw works great for this.
Place cut out shapes on a cookie cooling rack and allow to air dry for a few days. The thicker you made your ornament, the longer it will take to dry. You can also set them outside on a dry sunny day to help speed the process.

TIP: Because I didn't want my cooling racks tied up with ornaments for days, I went to Home Depot and purchased a gridded light diffuser found in the section where they sell fluorescent lighting. The shapes dry quite well and you aren't tying up your cooling racks!
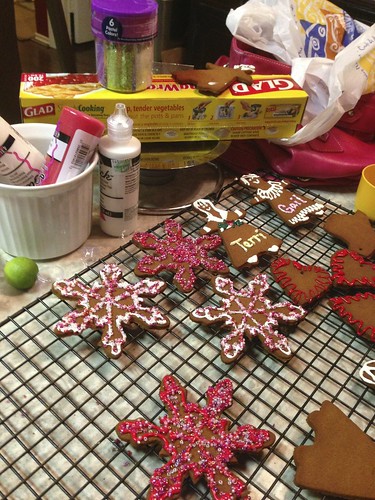
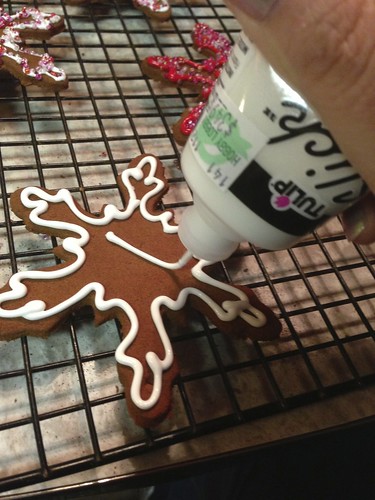
When dry, this is where you can have fun with decorating. I used dimensional fabric "Slick" paint to "ice" the ornaments.
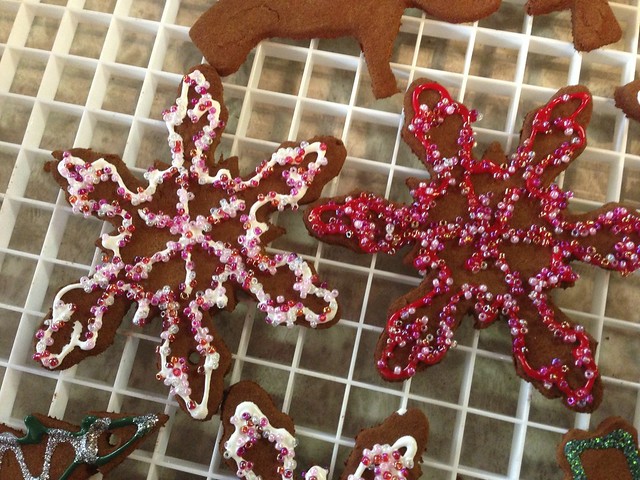
I also used glitter sprinkled on the "iced" cookies, but my favorite was cheap, tiny seed beads. While paint is still wet, hold ornament with an old spatula (that you don't care if it gets messed up with paint) hold over a bowl and sprinkle on the beads. Rinse, lather, repeat.

Allow to dry and use ribbon to make hanger loops.
Make the ornaments ahead of time and have a decorating party during the holidays!
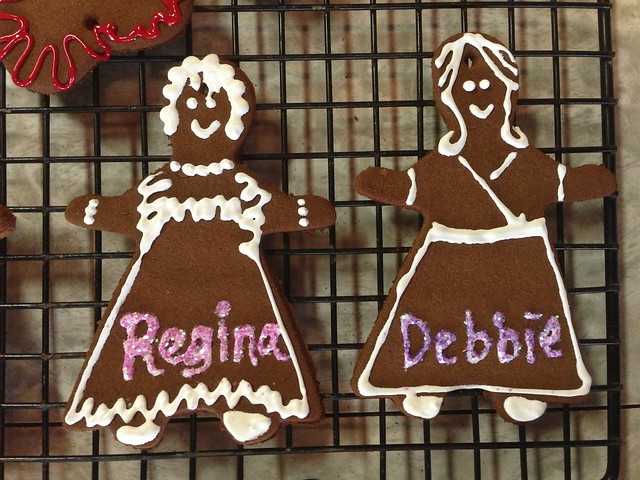
I made personalized ones to use as Christmas present labels!
4 comments:
How many ornaments does this recipe make?
About 20? Depends on the size of your cookie cutters. You can re-knead the discarded dough from your cuttings also.
can you make night before
No, because the dough takes a few days to dry and harden
Post a Comment