Traveling has a way of amping up my OCD superpowers and I have been known to check to see if my boarding passes have been packed...say...twelve times without blinking an eye. I'm not the type who can throw a few things in a bag with a moment's notice. I need PLANNING, PEOPLE!
Back to the boarding passes, and resort confirmations...etc... I like to have them in ONE place in my bag but don't like that they get all crumpled (I told you, I am the queen of OCD on the planet OCD in the universe of OCD). I went to the local office supply store to see if I could find a small little half sheet sized folder to carry these in. Nope. Not a one. They were all too small or too large, or too papery, or too flimsy... and my porridge was too cold. Not to despair! Folder hack to the rescue! (insert Billy Mays-esque videos of people unable to hold paper folders and clumsily dropping and tearing them beyond recognition. Cue in angelic spotlight to behold...

My modified envelope with the original size:


Snap the pieced envelope closed (to make sure you sew it in the right place) and using your sewing machine sew (the SEW! It burns us!) a 1/4" seam up the sides and bottom. I also rounded the corners with scissors because I'm fancy. Voila! No crumple, vinyl document container for your travel bag!

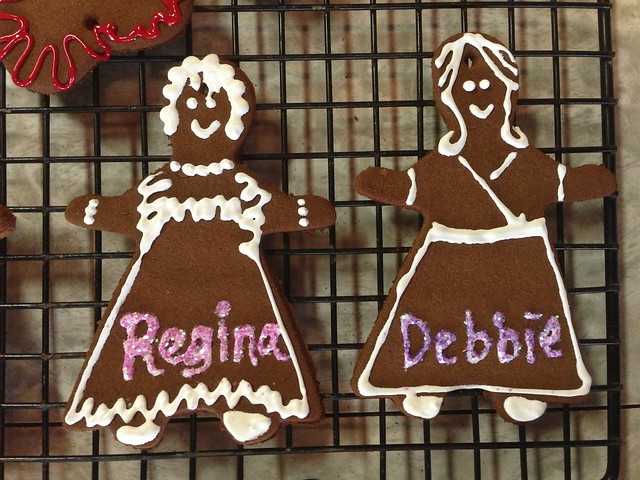
The first one I made was a bit smaller than I needed, so I'm using it to store all of my keepsake Christmas cards. See anyone you know?


My modified envelope with the original size:

It was really a "duh" moment when I was staring at the large vinyl envelopes and deduced that you could easily cut one up and sew it up to the dimensions you want! (I know, did I just use the "S" word?)
I used a rotary cutter and rotary ruler to cut it apart, but you could just as easily draw lines with a straight edge and cut it out with a pair of scissors. I used the snap as my middle gauge. Since a standard sheet of paper is 8.5" wide, I allowed for 1/4" on either side for the seam and added another 1/4" on each side for ease of being able to shove in the paper goods = 9.5" wide (I parked the snap at 4 3/4" on the ruler to make sure I got it in the middle) and hacked up the sides. I wanted the overall depth of the envelope to be 6" so I lopped of the bottom. Here's what it looks like in pieces

Snap the pieced envelope closed (to make sure you sew it in the right place) and using your sewing machine sew (the SEW! It burns us!) a 1/4" seam up the sides and bottom. I also rounded the corners with scissors because I'm fancy. Voila! No crumple, vinyl document container for your travel bag!
The first one I made was a bit smaller than I needed, so I'm using it to store all of my keepsake Christmas cards. See anyone you know?

BUT WAIT! THERE'S MORE!
I also used gardening velcro to contain my charging cords in my suitcase!

I also used gardening velcro to contain my charging cords in my suitcase!
This stuff is pretty awesome. I bought it at Home Depot to stake some rather large, top-heavy Dahlias I tried to grow in my garden. Come to find out, this stuff has multiple uses. One side of the strip has the soft plushy side and the other, the bumpy grabby side (stop me if I'm being too technical here) and it sticks to itself. I've used this stuff to wrangle TV/stereo wires and cords. This stuff is WAY cheaper than velcro cord ties you can buy in electronic stores. Excuse the crappy iphone pic.